Build Your First Obby: Make a Three-Stage Course
Duplicate your first platform, build three stages with different colors, sizes, and angles, add a temporary goal, and organize the course in Explorer.
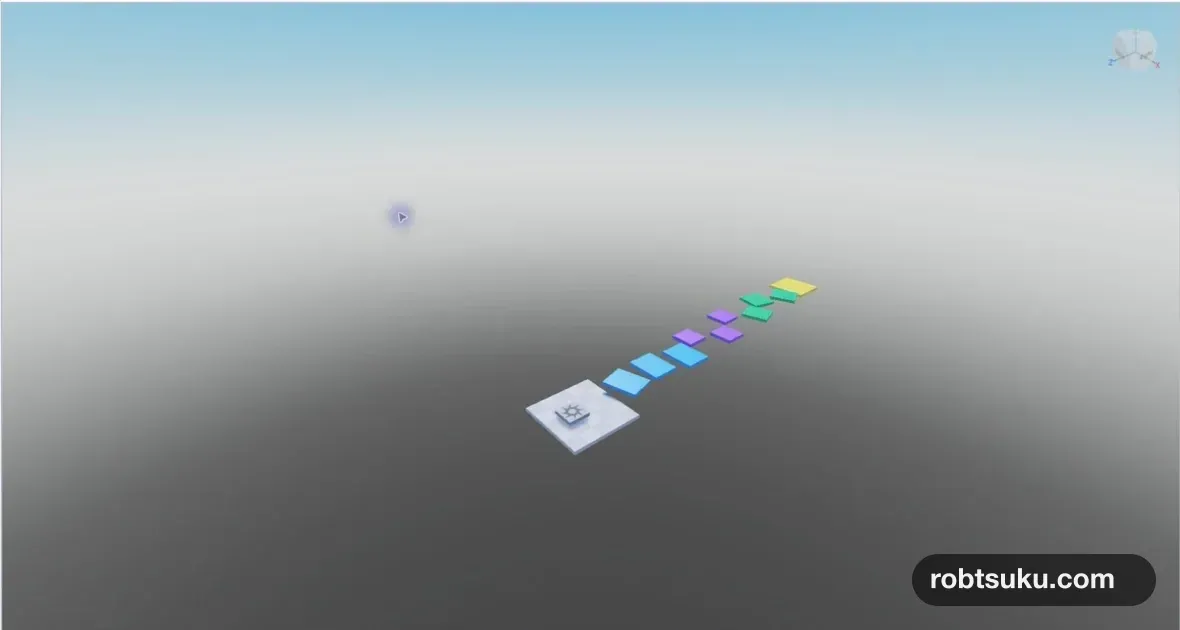
Start with the FirstPlatform from the previous lesson and turn it into a three-stage jumping course. You will not use code yet. Duplicating Parts and changing their color, size, and angle will make each stage feel a little different.
The finished course has three wide blue platforms, three smaller purple platforms, three angled green platforms, and one yellow temporary goal.
The course is complete when you can play from the start to the yellow platform.
Make a smaller starting island
The original Baseplate is very large, which makes it difficult to see where a player can fall. Select Baseplate in Explorer, rename it StartIsland, and enter these values in Properties:
- Size:
20, 1, 20 - Position:
0, -0.5, 0 - Anchored: on
Check that SpawnLocation remains on top of the island. If it becomes hidden inside the island, set its Position to 0, 1, 3.
Move FirstPlatform to the start of the course
Set FirstPlatform to these values:
- Size:
10, 1, 8 - Position:
0, 2, -15 - Orientation:
0, 15, 0 - Color: blue
- Anchored: on
A small gap should remain between the edge of StartIsland and the platform. This will be the first jump when you playtest the course.
Duplicate Parts to build three stages
Select FirstPlatform in Explorer and press Command + D on Mac or Ctrl + D on Windows. The duplicate initially overlaps the original Part. Move it farther along the course, then rename it right away so the two Parts are easy to tell apart.
Use the Position, Size, color, and angle values in this table as a starting layout. X moves left and right, Y controls height, and Z follows the course’s forward direction. You do not need to memorize the values. Enter them, test whether you can make each jump, and move a platform closer if it is too difficult.
| Name | Position | Size | Color and angle |
|---|---|---|---|
FirstPlatform |
0, 2, -15 |
10, 1, 8 |
Blue, Y 15° |
Stage1_2 |
0, 3, -25 |
10, 1, 8 |
Blue |
Stage1_3 |
3, 4, -35 |
10, 1, 8 |
Blue |
Stage2_1 |
-3, 4, -44 |
7, 1, 7 |
Purple |
Stage2_2 |
4, 5, -53 |
7, 1, 7 |
Purple |
Stage2_3 |
-4, 5, -62 |
7, 1, 7 |
Purple |
Stage3_1 |
3, 6, -71 |
8, 1, 8 |
Green, Y 15° |
Stage3_2 |
-3, 6, -80 |
8, 1, 8 |
Green, Y -15° |
Stage3_3 |
2, 7, -89 |
8, 1, 8 |
Green, Y 20° |
Color in Properties changes a Part’s color, while Material changes the look of its surface. SmoothPlastic, which gives the Part a smooth plastic appearance, is enough for this course. The official Parts documentation also describes Color and Material as basic properties that control a Part’s appearance.
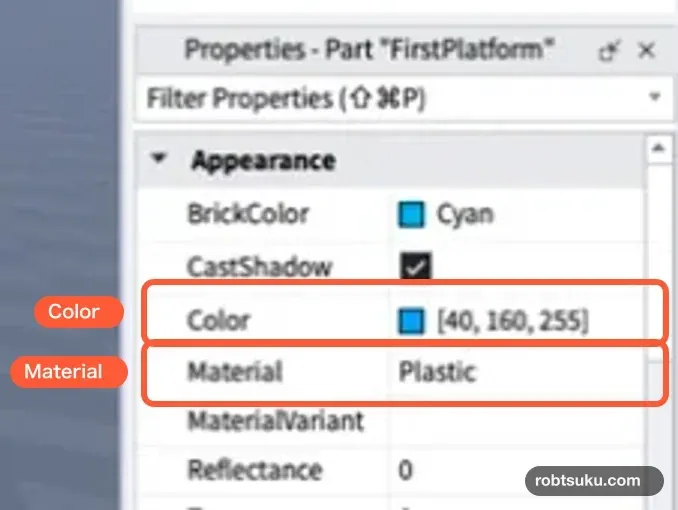
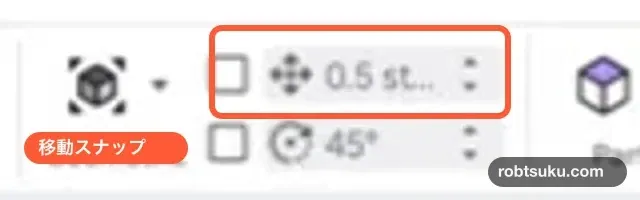
Turn on Anchored for every duplicate so that none of the platforms falls. Setting Move snapping to 0.5 or 1 on the toolbar can help you keep heights and gaps consistent.
Tip: What is Move snapping?
Move snapping makes a Part move in fixed increments when you drag a Move arrow. Think of it as the marks on a ruler:
0.5moves in 0.5-stud increments, while1moves in 1-stud increments. Use0.5for finer adjustments and1for larger steps. It does not automatically rearrange platforms you have already placed. Choose the value first, then move the Part. The official Assemble modular environments guide also shows how Move snapping keeps movement in consistent stud increments.
Add a yellow temporary goal
Duplicate the final green platform and rename the copy TemporaryGoal. Set Size to 12, 1, 12, Position to 0, 7, -99, and Orientation to 0, 0, 0, then change its color to yellow.
This is a temporary goal for the middle of the series. You will add the finished GOAL display in a later lesson. For now, the yellow platform gives you a clear sign that you have reached the end of the course.
Organize the platforms in a Course folder
In Explorer, move the pointer over the Workspace row and click the + button that appears at its right edge.
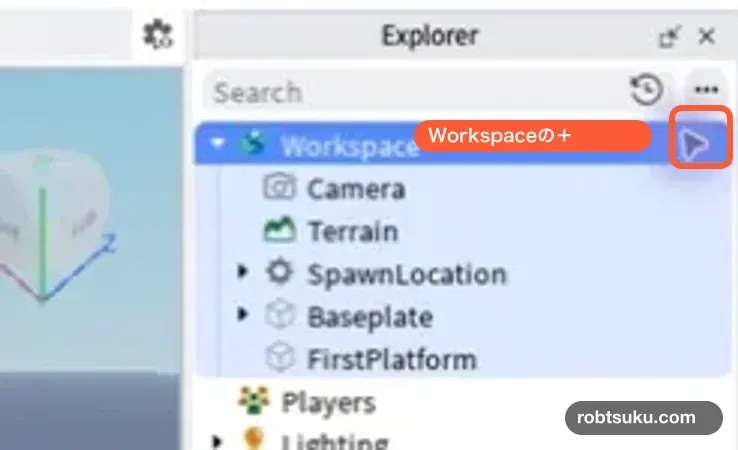
When Insert Basic Objects opens on the left, select Folder and rename the new folder Course.
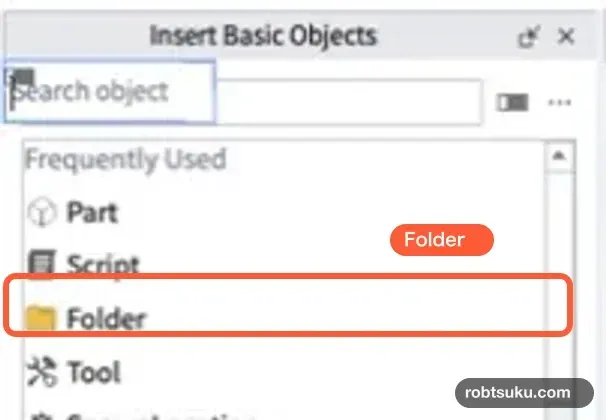
Select all ten platforms and drag them into Course. Hold Command on Mac or Ctrl on Windows while clicking platform names to select more than one. If selecting all of them at once is difficult, move them into Course one at a time. The organization is correct when StartIsland, SpawnLocation, and Course appear at the same level.
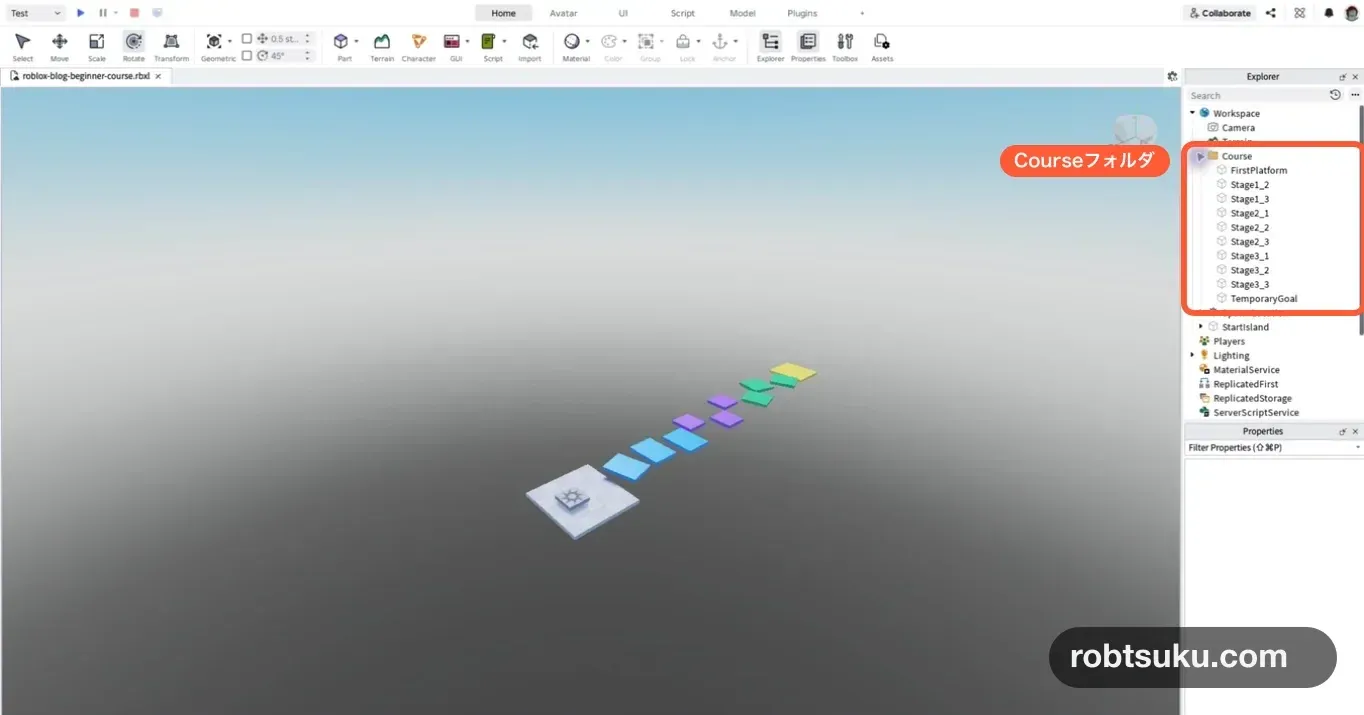
As the official Explorer window documentation explains, Explorer organizes game objects in a parent-and-child hierarchy. Closing the folder turns the list of ten platforms into one Course row. This organization will also make it easier to find the code you add in the next lesson.
Play to the yellow platform
Click Play and jump across the blue, purple, green, and yellow platforms in order. If one jump is too far, click Stop and move the next platform 1 or 2 studs closer. You do not need to replay the entire course after every adjustment. Start by checking the section just before the platform you changed.
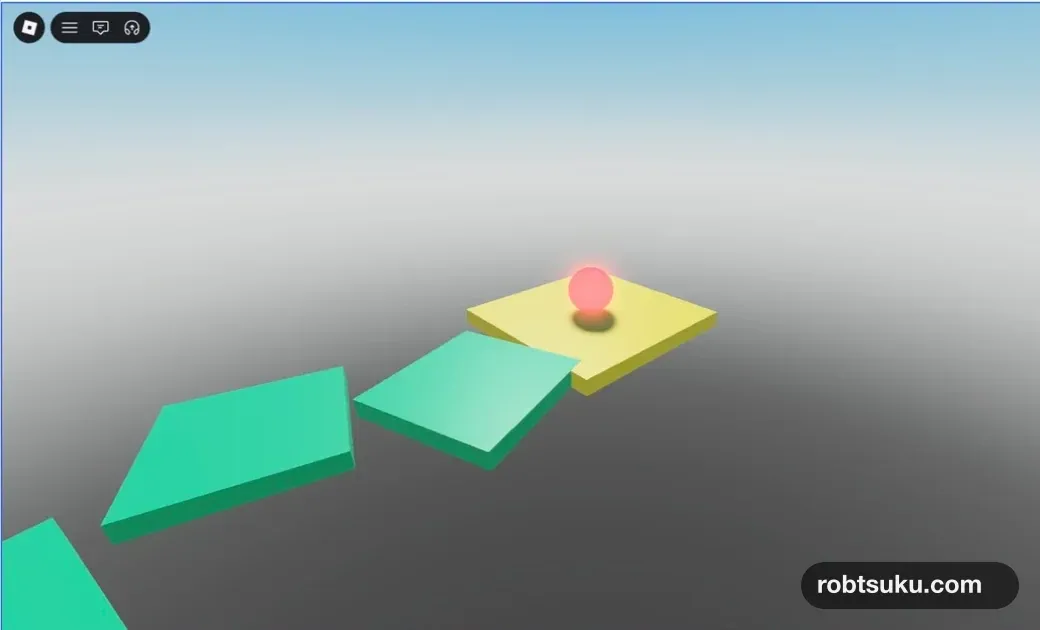
The test passes when you can land and stand on the yellow platform. If a platform falls or moves as soon as you click Play, click Stop, select that platform, turn on Anchored, and test again.
Completion check
- Ten platforms follow StartIsland
- You can tell the blue, purple, and green stages apart from the yellow temporary goal
- None of the ten platforms falls or moves during a playtest
- All platforms are organized inside the
Coursefolder in Explorer - You can play from the start to the yellow platform
Your course now works without any moving systems. Next, place lava below the platforms and write Luau code that returns a player to the start after a fall.
Previous lesson: Roblox Studio Parts: Move, Scale, Rotate, Anchor
Next lesson: Make Deadly Lava in Roblox Studio with Luau