Publish a Roblox Game as Private
Publish your completed three-stage obby to Roblox as a Private experience, reopen it from the cloud, and confirm that the latest GOAL is still there.
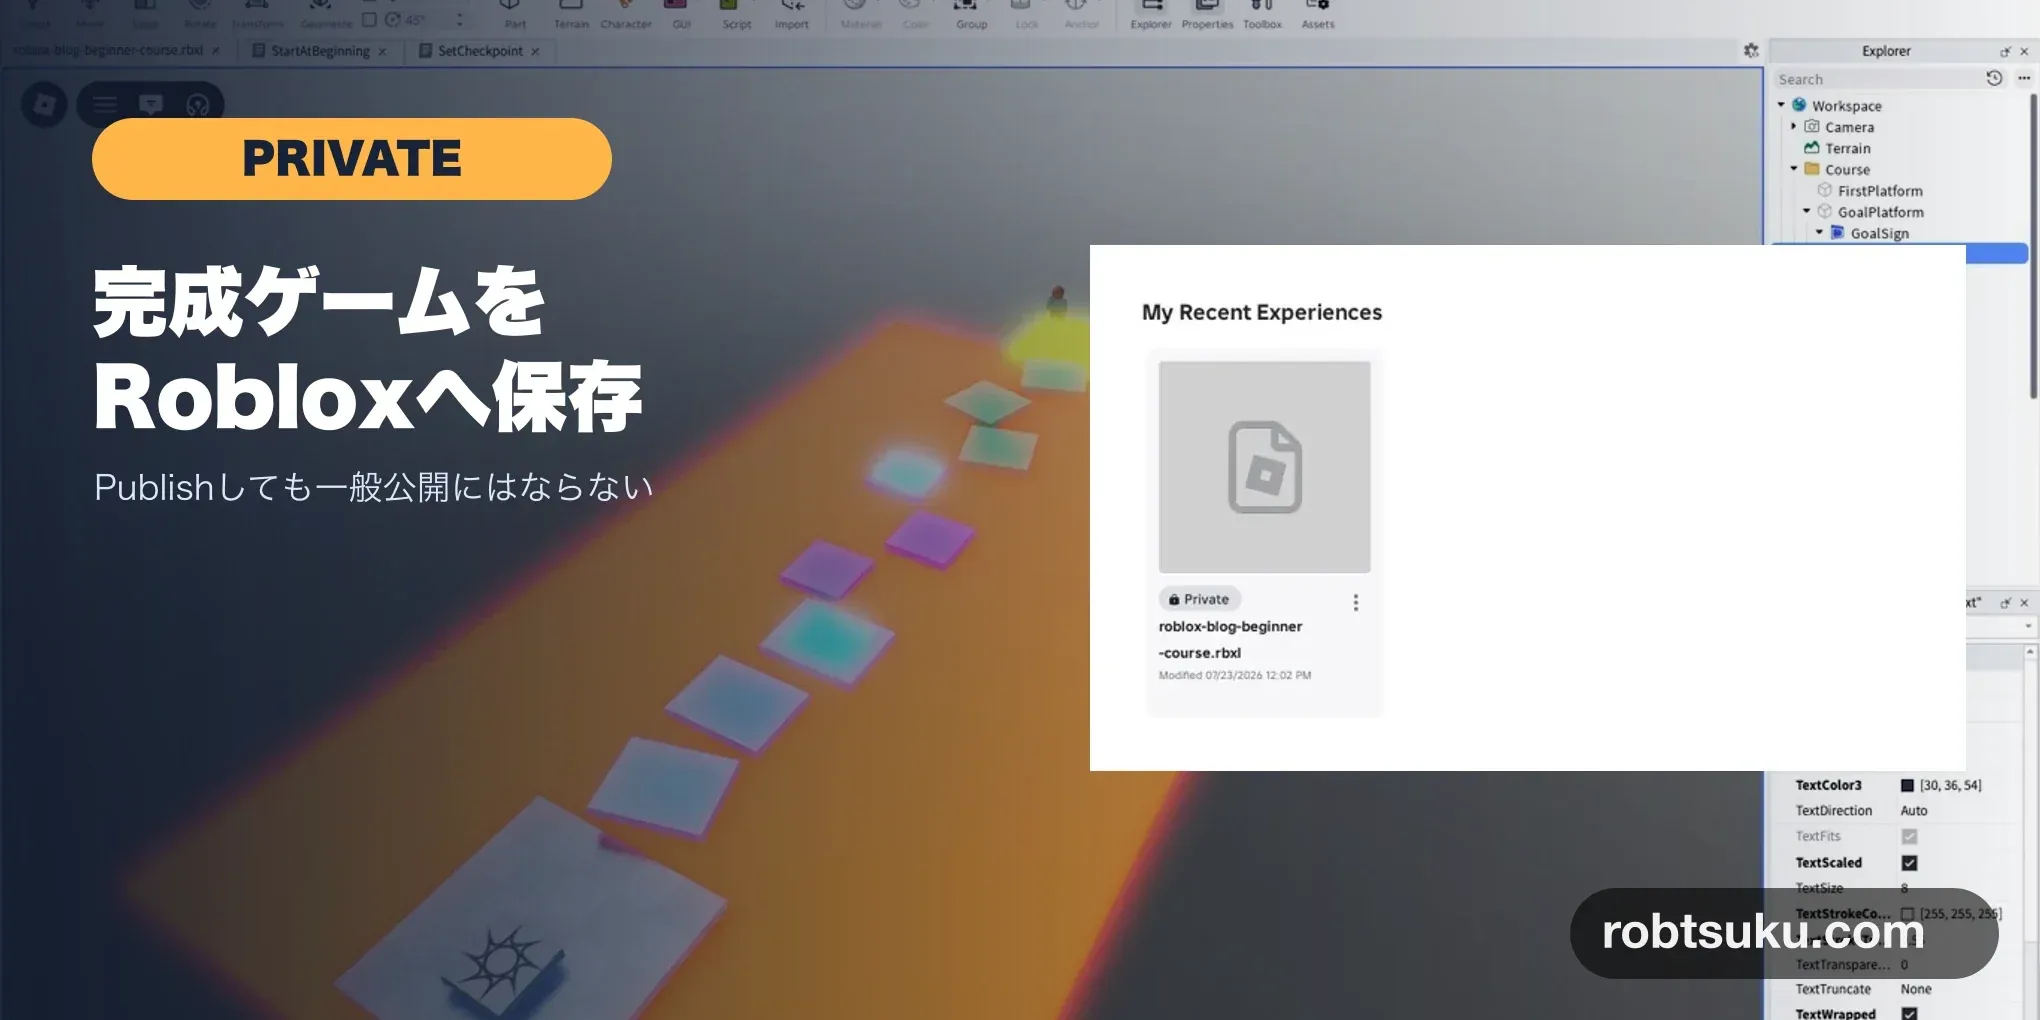
Your three-stage obby now runs from StartIsland to the yellow GOAL. Save the finished place from the previous lesson to Roblox. The published experience starts as Private, so other players cannot join it yet.
Allow about five minutes to publish, close the place, and reopen its cloud copy in Studio. The yellow GOAL should still be present when you return.
Separate local files from Roblox publishing
If Play is running, press Stop to return to edit mode. Check that GoalPlatform, GoalSign, and GoalText still appear in Explorer.
The previous lesson used Save to File to store an .rbxl file on your computer. Publish to Roblox uploads the place data to Roblox’s cloud and connects it to your account. Roblox’s Create and publish games and places documentation explains that publishing stores the start place in the cloud so it can be edited from another computer.
Tip: Game, experience, and place
Roblox calls the complete published game that players join an experience. A place is one map inside that experience. This course uses one experience with one start place: the map containing your finished obby.
Keep the local file as a backup. Publishing does not require you to delete it.
Open Publish Experience
Open File in the upper-left corner of Studio and select Publish to Roblox. The first time you publish a new experience, Studio opens Publish Experience.
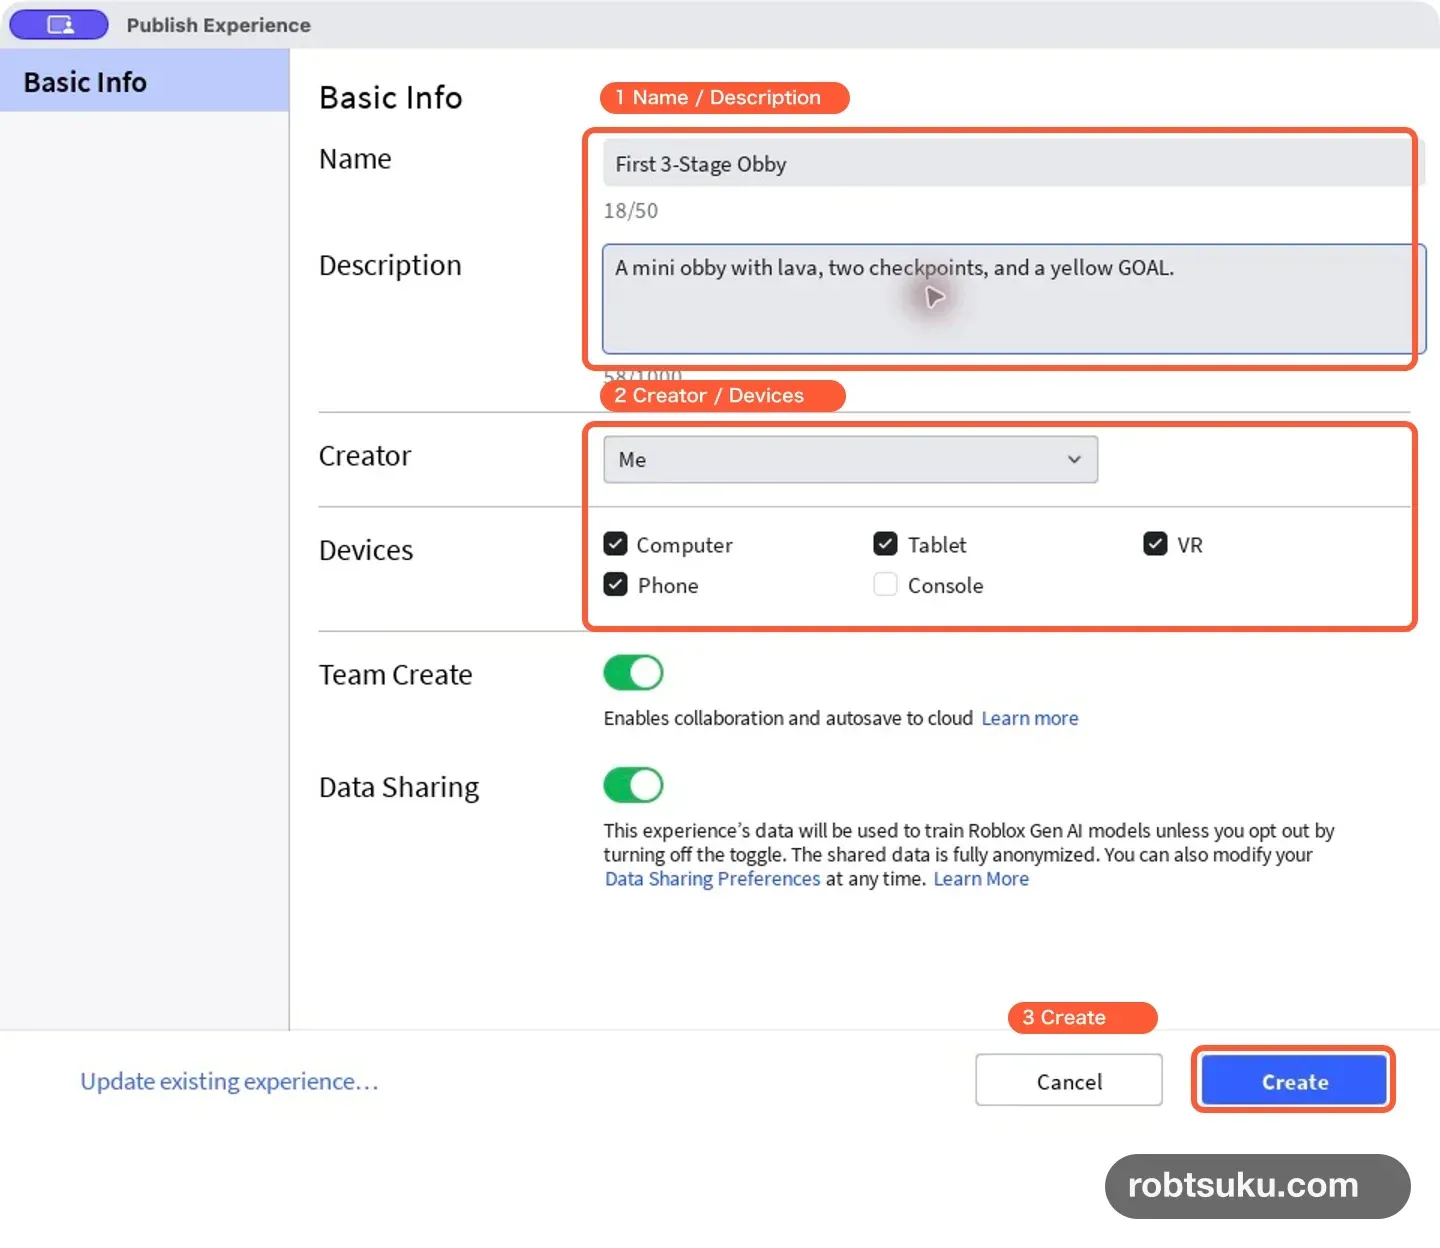
The image reflects the interface checked on July 23, 2026. Review these fields in order:
- Name: enter an experience name no longer than 50 characters.
- Description: write a short, accurate description.
- Creator: select
Mewhen the experience belongs to your account. - Devices: choose the devices the experience supports.
For example, use Name My First Three-Stage Obby and Description Cross lava and two checkpoints to reach the yellow GOAL. The first sentence should say what the player does. Roblox’s metadata guidance also recommends an accurate summary without unrelated or repeated keywords.
Do not put your real name, school, address, phone number, or other personal information in the Name or Description. The experience is Private now, but a later lesson changes its audience. Describing the experience itself is enough.
You can keep the initially selected Devices for this lesson. That selection does not prove the game has been tested on every chosen phone, console, or computer. The completion check here uses Studio on the computer you are currently using.
The current dialog also displays Team Create and Data Sharing. Neither field controls the Private audience for this lesson, so leave them unchanged. Audience access is managed after the experience is created.
Create the Private experience
Select Create in the lower-right corner. When the connection message disappears and Studio displays the name you entered at the top, the cloud save is complete.
Roblox documents that a newly created experience is Private by default. Only its owner and creators with Edit permission can access a Private experience; ordinary players and friends cannot join it. The Audience documentation treats Private, Limited, and Public as separate access levels.
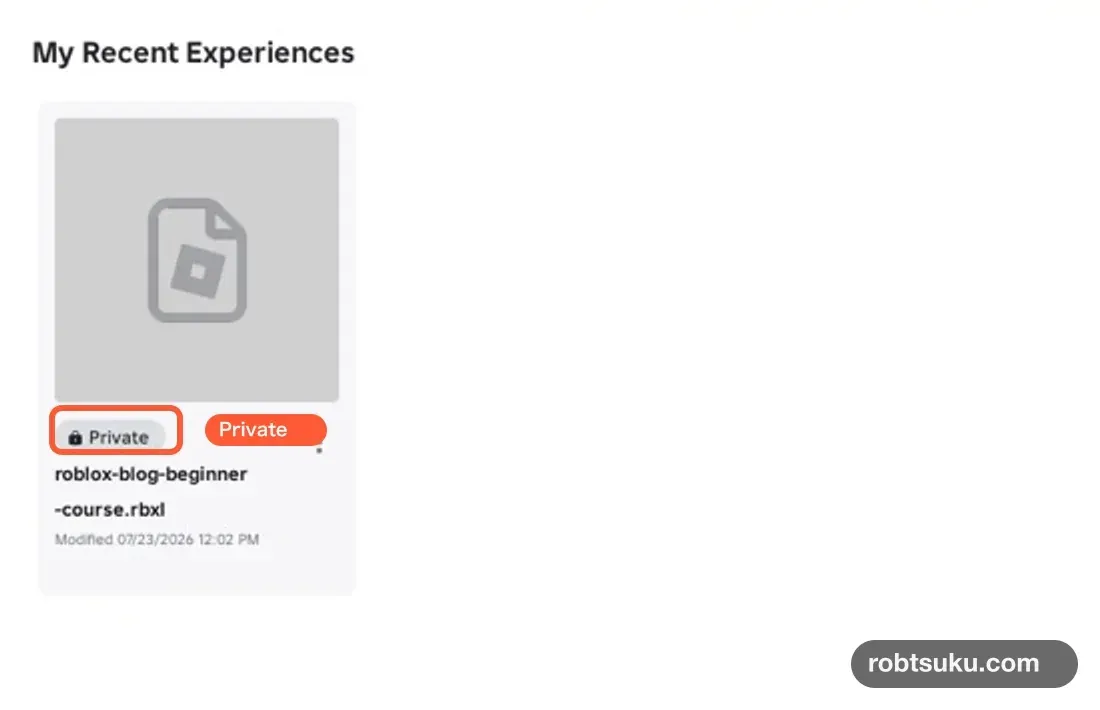
Close the place and return to Studio Home. The experience should appear under My Recent Experiences. A lock and the word Private on its card show that it is not open to other players.
If Create is disabled, check that Name is not empty. If Studio stays on a connection message, do not press the button repeatedly. Read any displayed error, confirm your internet connection and Studio login, then retry. Your local file remains available, so a failed upload does not require rebuilding the course.
Tip: Publish does not mean Public
Publish saves data to Roblox. Public is an Audience setting that exposes an experience more widely. Selecting Create does not place the experience in general search or on the home page.
Reopen the cloud place in Studio
Use this sequence to confirm that the cloud copy can be restored:
- Select File > Close Place in Studio.
- Choose the experience under My Recent Experiences on Home.
- Wait for the place to load.
- Expand
Course > GoalPlatform > GoalSign > GoalTextin Explorer. - Confirm that the yellow
GOALis visible in the 3D view.
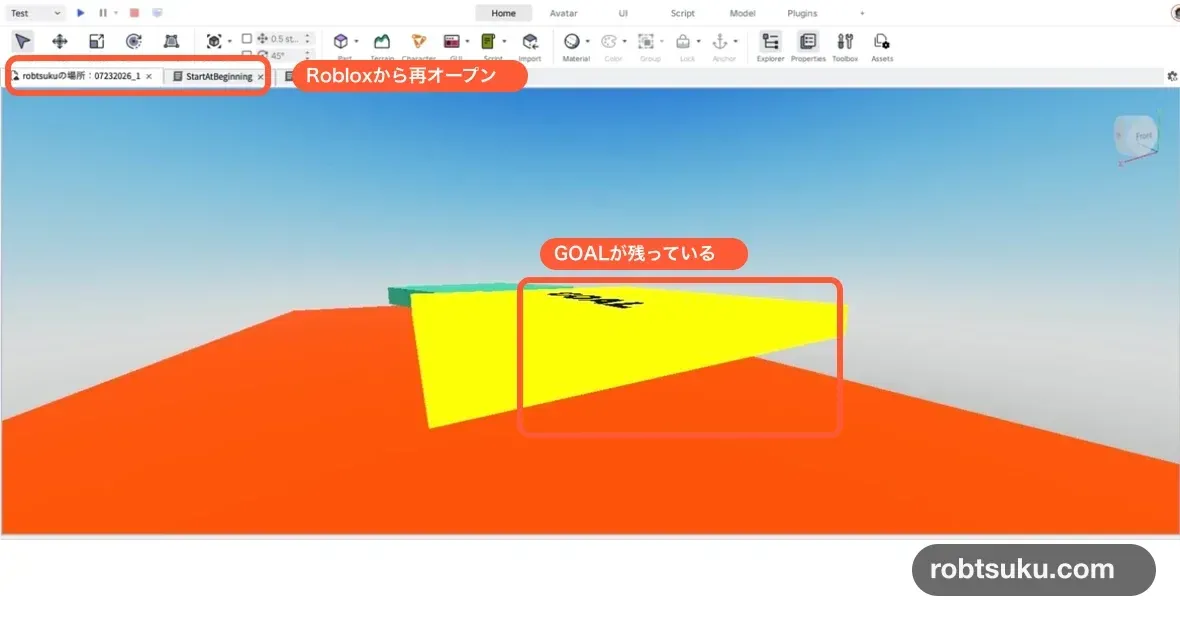
Figure guide: The upper-left orange box marks the place reopened from Roblox. The lower box confirms that the yellow platform and its
GOALtext are still present.
You can also select the game by name under Recent in Studio’s File menu. If you are signed in to Creator Dashboard in a browser, the official workflow also allows you to open the game’s start place with Edit in Studio.
If Studio and the browser use different Roblox accounts, the same card will not appear on the Dashboard. Compare the account in the upper-left corner of Studio Home with the browser account. There is no need to capture or share a password or login screen.
If the reopened course is missing GOAL, Studio may have closed before the latest upload finished. Open the newest local file and select File > Publish to Roblox again. After the first publish, this command updates the existing game instead of creating another one.
The Studio tab can sometimes show an automatic start-place name rather than the game name. Inspect the Explorer hierarchy and the yellow GOAL before deciding that the wrong data opened. Those contents are the reliable completion check.
Completion check
- The experience card on Studio Home says
Private. - The experience appears in File’s Recent list.
- Its start place can be reopened from Roblox.
GoalPlatform > GoalSign > GoalTextremains in Explorer.- The yellow
GOALremains visible in the 3D view. - Audience has not been changed to Limited or Public.
The finished place is now stored on Roblox, and its experience remains Private. Before changing its Audience, the next lesson checks the current account and experience requirements for free friend sharing.
Previous: Finish and Test Your First Roblox Obby
Next: Check the Requirements for Free Friend Sharing