Roblox Studio Basics: Editor and Playtesting
Get Roblox Studio ready, open the Baseplate template, learn what the 3D viewport, Explorer, and Properties do, then play and stop your game.
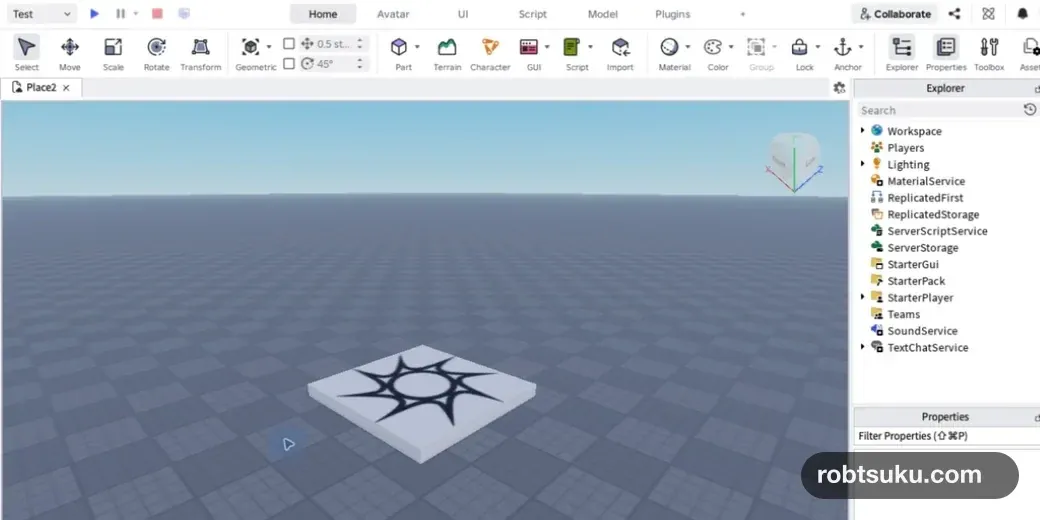
Roblox Studio is the free app you use to make Roblox games. You can start here even if you have never played Roblox or have not downloaded Studio yet.
After setup, opening an empty, flat world and entering it with your character takes about five minutes. Studio shows many buttons and unfamiliar names at once, but you do not need to memorize them all. This lesson uses only the areas you need, with no code yet.
Get a Roblox account and install Studio
You need a Roblox account to sign in to Studio. As the official Get started creating on Roblox guide explains, you can use the same account for playing and creating. If you do not have one yet, follow the official Roblox account creation guide to create a free account.
Tip: Keep your password out of screenshots and videos, and never share it with anyone. The official account creation guide also tells you not to share your password.
Next, download Studio from the official Roblox Studio setup page. Studio is a free creation app for Windows and Mac. Open the downloaded installer, wait for the installation to finish, then launch Studio and sign in with your Roblox account.
Tip: The Roblox app for playing games and Roblox Studio for making games are separate apps. Open Roblox Studio for this lesson.
If the Studio home screen is already open, you are ready. Continue to “Open the Baseplate template.”
Studio’s layout can change slightly after an update. The screenshots in this lesson were captured in Studio on July 22, 2026.
Open the Baseplate template
On the Studio home screen, click Baseplate. If you cannot find it, select New Experience on the left to open the same Baseplate template.
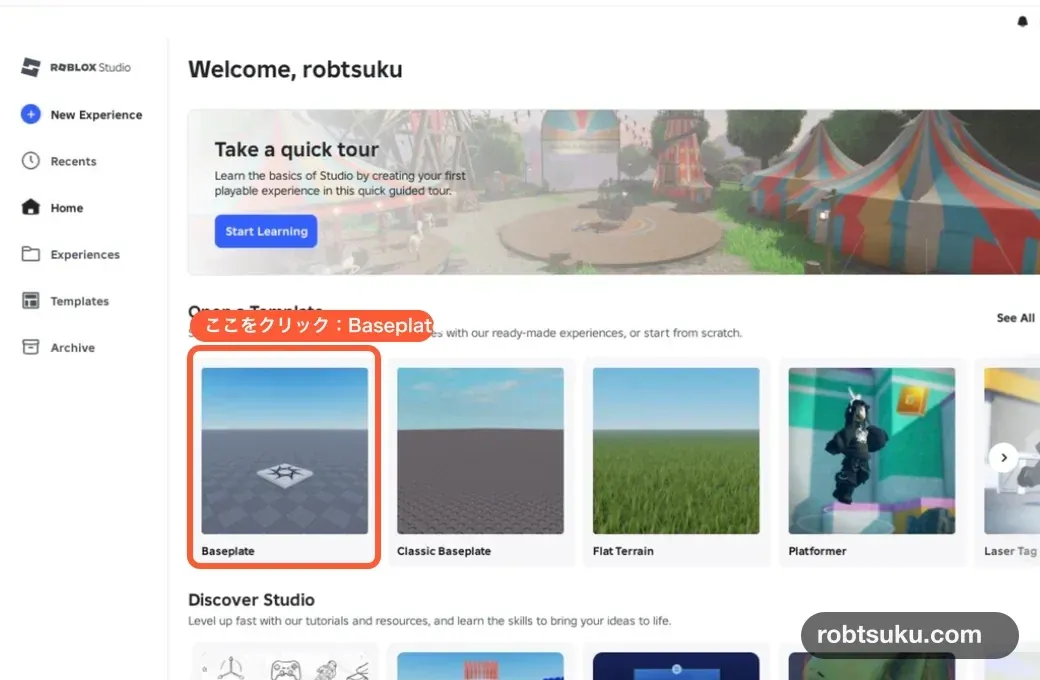
Select the first Baseplate tile inside the orange outline.
Baseplate is a template that starts with only a floor and a place for your character to appear. The official Roblox Templates documentation lists SpawnLocation and Baseplate as its two starting objects. With no extra systems to distract you, it is a useful place to learn the editor.
Wait for the grid floor to load, then continue.
Learn just three areas
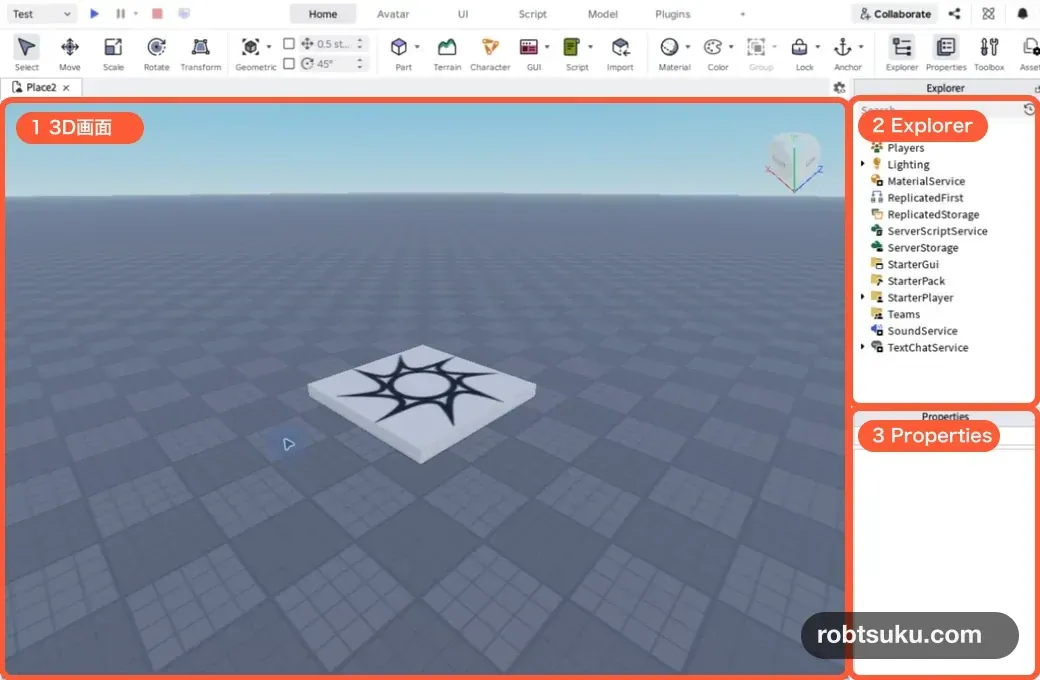
1. 3D viewport
The large area in the center is the 3D viewport. Think of it as the workbench where you build your game world. The official Studio interface guide explains that you can hold the right mouse button and drag to rotate the view, then use the mouse wheel to zoom in and out.
For now, try right-dragging once without losing sight of the floor. If you get lost, select Baseplate in Explorer at the upper right and press F to focus the view on the floor again.
2. Explorer
Explorer, at the upper right, lists everything inside your game. Click the arrow beside Workspace to see Camera, Terrain, SpawnLocation, and Baseplate.
The official Explorer window documentation explains that Explorer shows every Instance in a hierarchy and that Workspace contains visible 3D content. For now, remember it as the place where you find the floor and the parts you build with.
3. Properties
Click Baseplate in Explorer. Properties, at the lower right, now shows settings such as its color and material. Properties is where you change the appearance and behavior of the selected object. You can read more in the official Properties window documentation.
If Explorer or Properties is missing, open Studio’s Window menu and select Explorer and Properties.
Enter your game
Click the triangular Play button at the upper left. After a short wait, your character appears on SpawnLocation. Use W, A, S, and D to walk, and press the Space bar to jump.
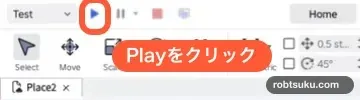
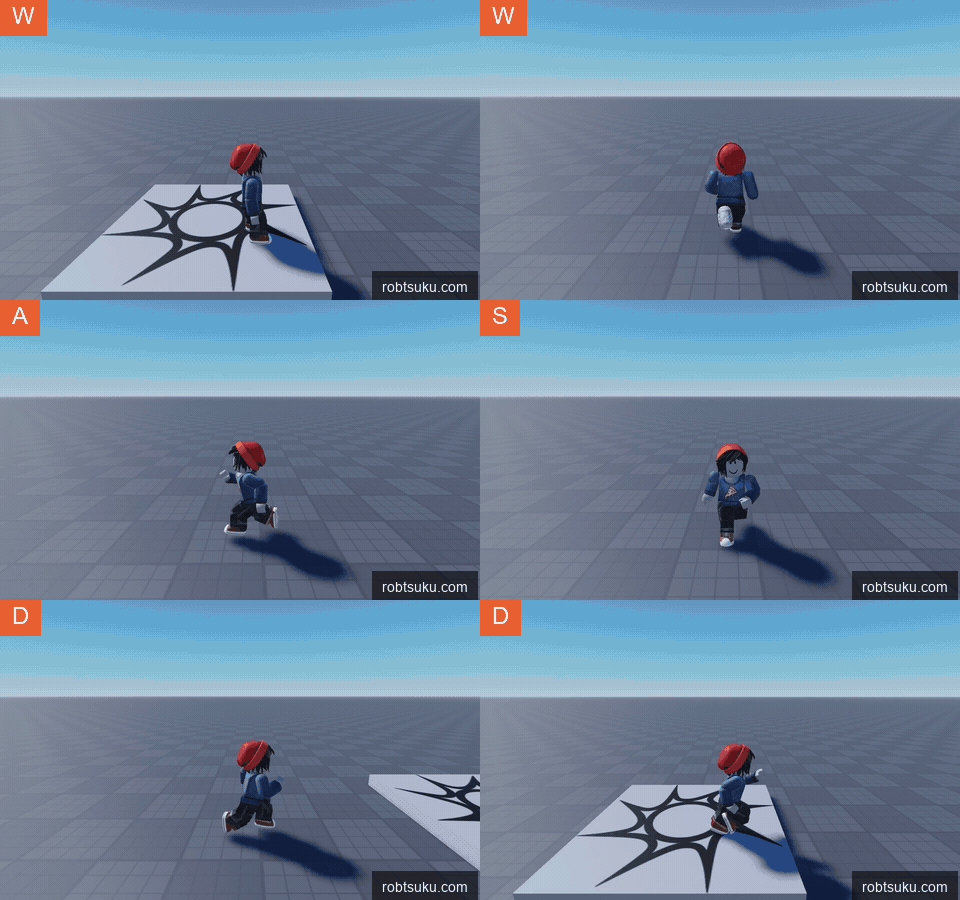
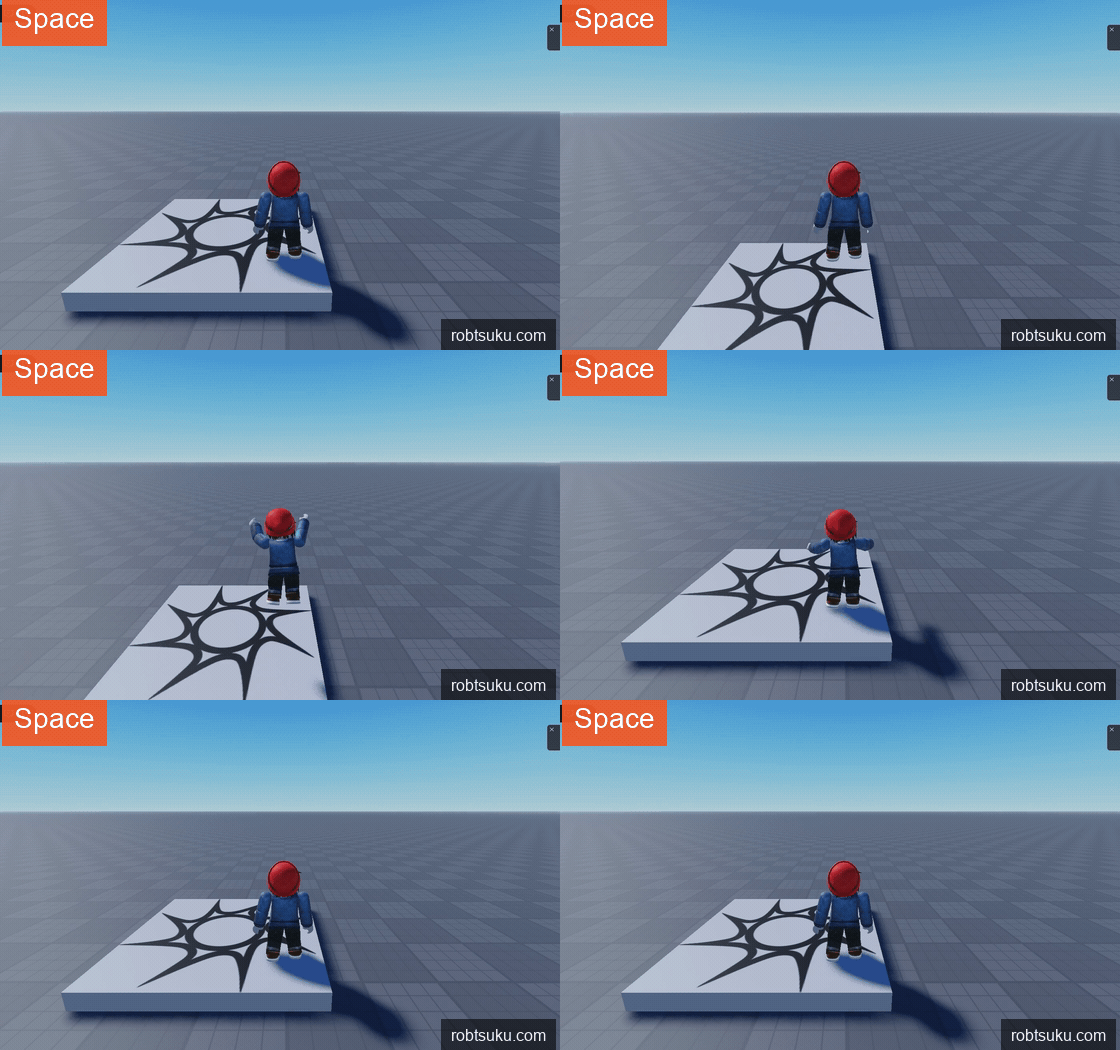
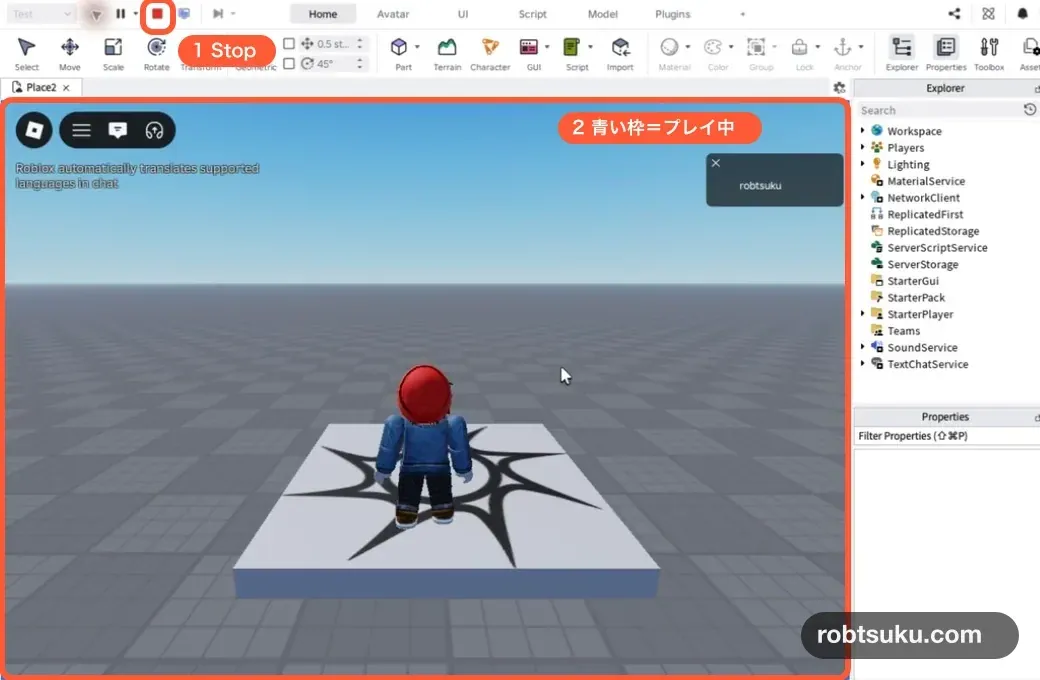
The blue border around the 3D viewport means you are playtesting rather than editing. When you are finished, click the red square Stop button near Play.
According to the official Studio testing modes documentation, Play starts the game with your character near SpawnLocation. Stop ends the simulation and restores objects to their pre-test state. If you want a change to remain, Stop the test and make that change in edit mode.
If your screen does not match
If your character does not appear immediately after you click Play, wait a few seconds for the 3D viewport to finish loading. When more playtest objects appear in Explorer and the viewport gains a blue border, the test is running. Do not click Play again. Click the red Stop button before trying again.
If the panels on the right are too narrow, drag their border with the 3D viewport to the left. They do not need to be exactly the same width as the screenshots. If you can select Baseplate in Explorer and see its settings in Properties, your layout is ready.
Check your setup
You have opened Baseplate, looked around the 3D viewport, selected an object in Explorer, checked Properties, and used Play and Stop. Those five actions are all you need before placing your first part.
Next, add a new Part above the floor and practice moving, scaling, and rotating it.
Roblox Studio Parts: Move, Scale, Rotate, Anchor