Make a Tool You Can Hold in Roblox Studio
Turn one Part into a LightStick Tool, place it in StarterPack, and test equipping, unequipping, and equipping it again from the hotbar.
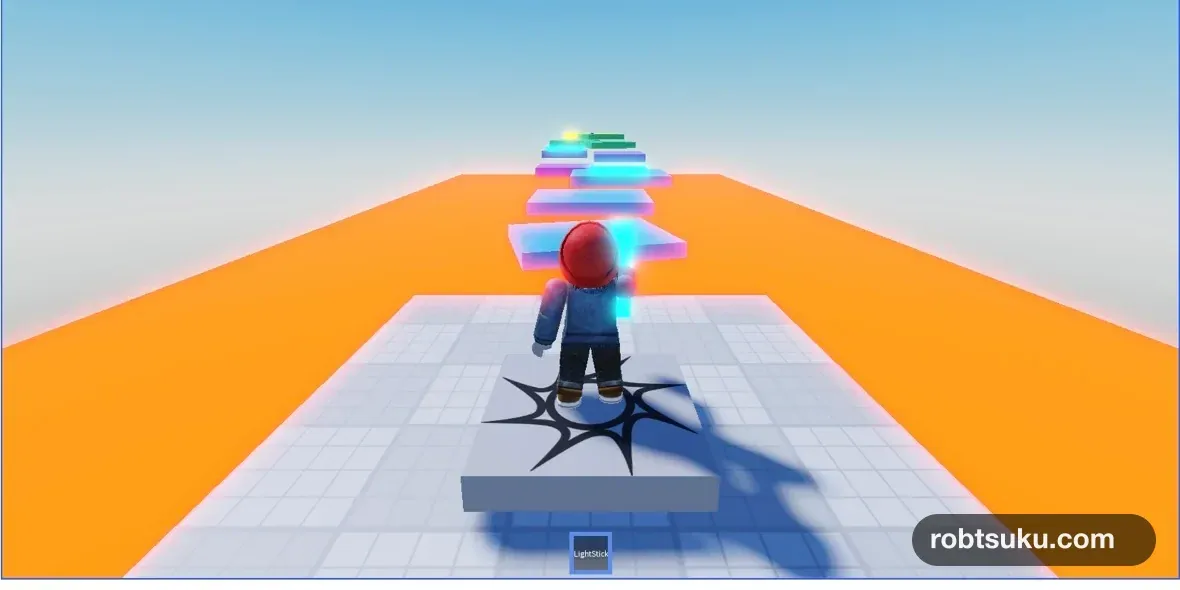
Select LightStick from the hotbar and the avatar will hold a blue stick in its right hand. Select the same slot again to put it away, then select it once more to equip it again. This takes about seven minutes and does not require Robux, an external model, a Script, or a published game.
Start after you can add a Part and change it in Properties. You can use a Baseplate or a game you are already building. If Explorer or Properties is hidden, open it from the Home tab.
This item only needs a Tool and one Part. Build the hierarchy, use the required name, and set the physical properties before you test it.
Tip — A Tool is a container for an equippable item
A
Toolis an item that a player can select from the hotbar. Swords, keys, and flashlights can all use this container. This lesson only makes the blue stick appear in the hand; adding an action or effect requires a Script.
1. Create the Tool and Handle
In Explorer, select the + beside Workspace and add a Tool. Rename it LightStick.
Select the + beside LightStick, add one Part, and rename that Part exactly Handle, including the capital H. The hierarchy should look like this:
Workspace
└─ LightStick (Tool)
   └─ Handle  (Part)
If the object picker contains too many choices, search for Tool or Part. If you created the Part in Workspace first, drag it onto LightStick in Explorer to move it inside the Tool.
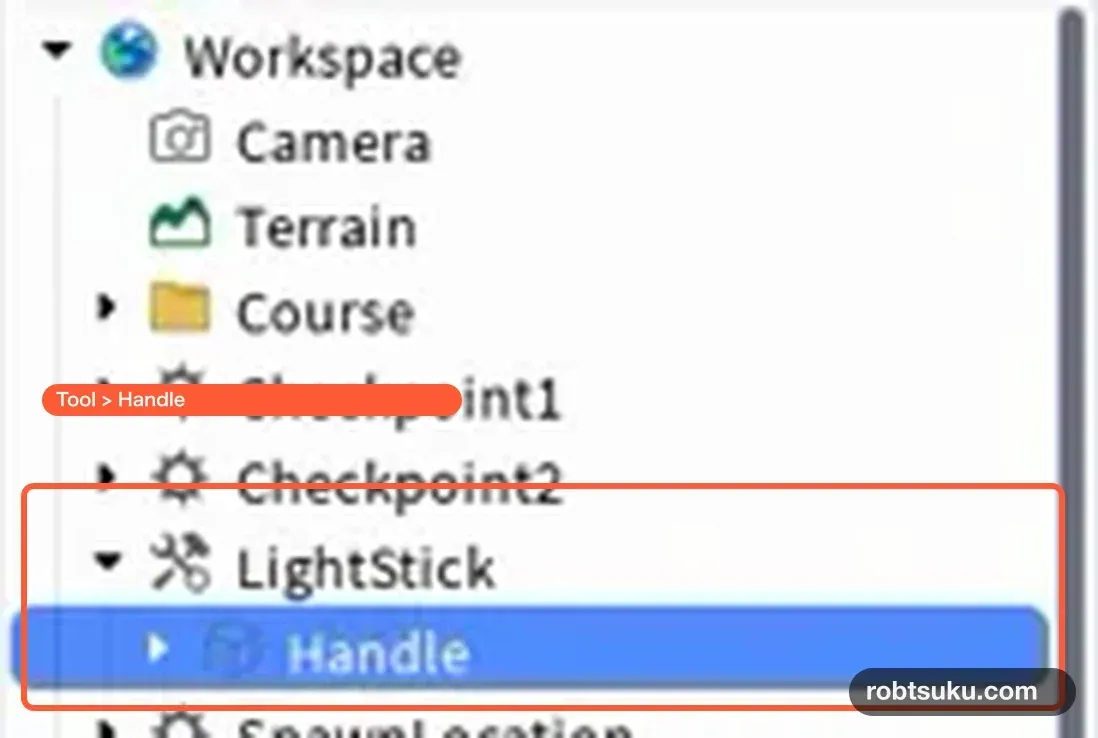
Roblox’s Tool documentation specifies that a physical Tool should directly contain one Part named Handle. A Part outside the Tool, or a name such as handle, will not attach correctly.
Tip — Handle is the Part attached to the hand
Handleis the physical Part Roblox connects to the avatar’s hand. Here it is the blue stick itself. Both its name and its location matter, so confirm the pathLightStick > Handlein Explorer.
Expand LightStick and check that it contains only one Handle. Keeping one physical Part removes ambiguity while you test this basic item.
2. Shape the blue stick
Select Handle in Explorer and set these values in Properties:
| Property | Value |
|---|---|
Size |
0.6, 3, 0.6 |
Color |
bright light blue |
Material |
Neon |
Anchored |
off |
CanCollide |
off |
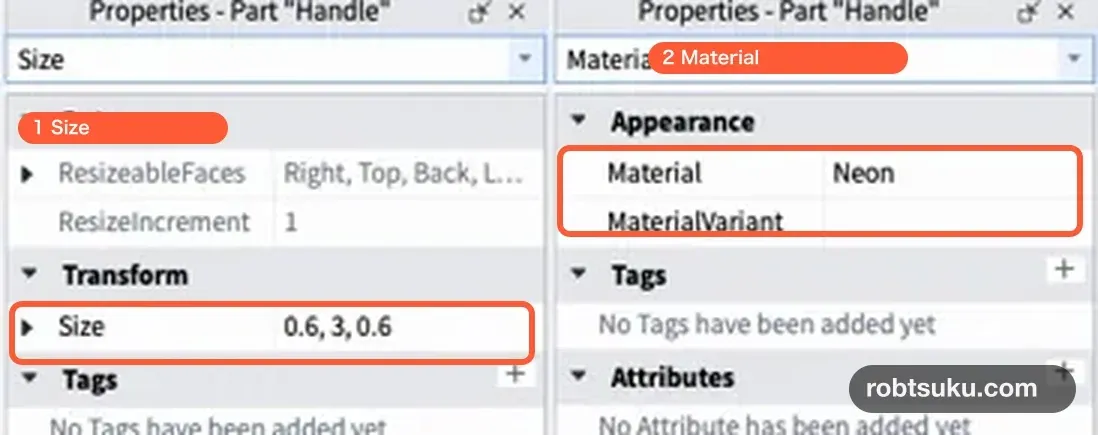
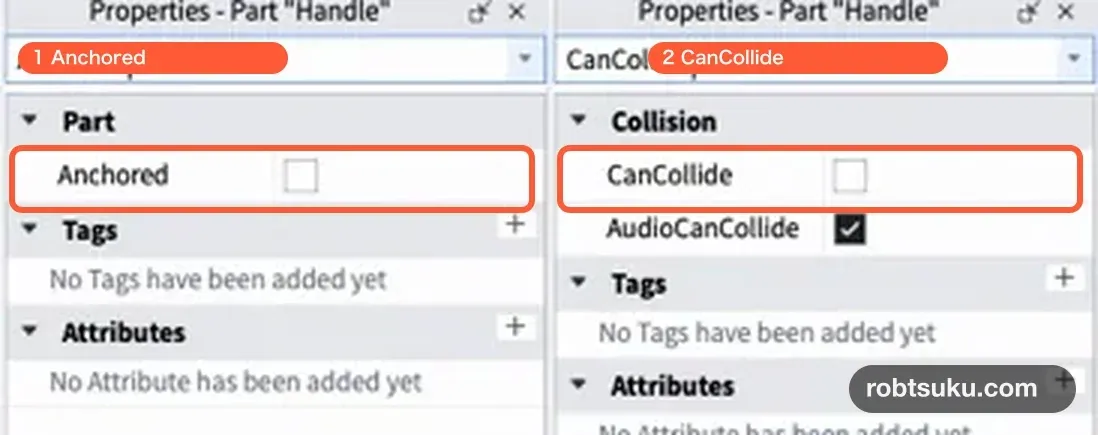
Keep Anchored off. Roblox notes that an anchored Tool Part can also hold the equipped character in place. Turning CanCollide off prevents the stick from pushing against the avatar or nearby platforms.
Use the search box at the top of Properties if an item is difficult to find. Search for Size, Material, Anchored, and CanCollide one at a time, then clear the search. An empty checkbox means the property is off.
Tip — Neon is not a light source
Neonmakes the Part look bright, but it does not cast light onto floors or walls. The visible blue stick is the intended result here.
You can choose another color without changing how the Tool works. Keep one Handle until equipping works; additional Parts make failures harder to isolate. After this test, you can replace the simple stick with an original sword built as one Handle in Blender.
3. Move the Tool into StarterPack
Drag the parent LightStick into StarterPack. Do not move only Handle.
StarterPack
└─ LightStick (Tool)
   └─ Handle  (Part)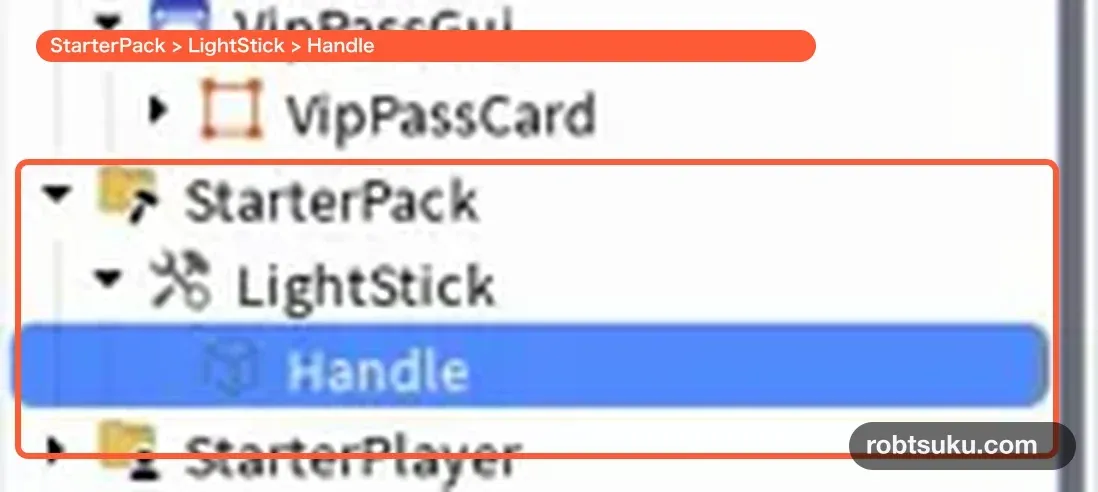
Tip — StarterPack supplies each player’s starting items
Roblox copies Tools from
StarterPackinto each player’sBackpackwhen they join or respawn. ABackpackis the collection of items the player currently carries. With this setup, every player starts with oneLightStick.
This behavior is also described in Roblox’s player inventory documentation. The next shop lesson moves the Tool out of StarterPack so only a player who pays coins receives a copy.
Check that Workspace no longer contains LightStick and that the only copy is at StarterPack > LightStick > Handle. Changes made while Play is running are temporary and disappear after Stop, so correct the hierarchy in Edit mode.
4. Equip, unequip, and equip again
Press Play. The numbered item row at the bottom of the screen is the hotbar. When LightStick appears, select its slot or press its number key. If it is the first Tool, press 1.
The slot should gain a blue selection border and the blue stick should attach to the avatar’s right hand. Select the same slot again to remove the stick and clear the border. Select it a third time and check that both return.
If your game already contains another Tool, LightStick may appear in slot 2 or later. Select the slot by name instead of assuming it is always 1.

On a phone or tablet, tap the LightStick slot. Roblox’s player Tool tutorial also uses the hotbar or a number key to equip a StarterPack Tool.
Clicking the game while the stick is equipped does nothing in this lesson. That is the expected result. The Tool and Handle provide equip and unequip behavior, while actions such as swinging or turning on a light need a Script. Roblox’s Tool effects guidance introduces events such as Equipped, Unequipped, and Activated for those later effects.
Press Stop, then start a new Play session. LightStick should return to the hotbar because StarterPack supplies a new copy to the player’s Backpack.
Troubleshooting
- The Tool is missing from the hotbar: Confirm that
LightStickis directly insideStarterPack, notWorkspace. - The slot appears but the avatar does not hold the stick: Confirm that a Part named exactly
Handleis directly insideLightStick. - The avatar cannot move while holding it: Turn off
Handle.Anchored, then restart Play. - The stick pushes the avatar or platforms: Turn off
Handle.CanCollide. - Only the holding direction is wrong: Adjust the Tool’s
Grip. First confirm that the current version can equip and unequip reliably. - Your changes disappear after Stop: Change Properties and the hierarchy in Edit mode, not during Play.
Completion check
StarterPack > LightStick > Handlematches the required hierarchy.Handleis Neon, unanchored, and non-collidable.LightStickappears in the hotbar at the start of Play.- Selecting its slot equips the stick in the right hand.
- Selecting the slot again removes it, and a third selection equips it again.
The basic Tool now works without a Script. Next, move it into server storage and sell one copy for 10 in-game coins.
Official sources
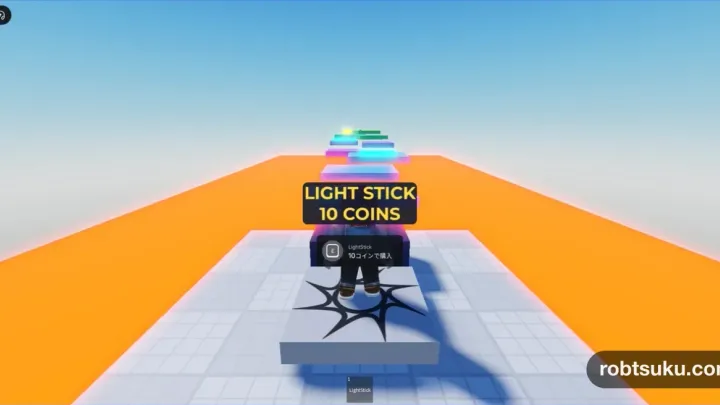
Build a Coin Shop for a Tool in Roblox Studio
Use a ProximityPrompt to charge 10 in-game coins, validate the purchase on the server, and add one LightStick Tool to the player’s Backpack.
Build this feature